Using  Excel 2010 we are going to look at how to separate full names (last name followed by first name) into separate columns. Once that is done we are going to convert the data to table format and sort on the last name.
Tools used for this exercise:
- The “Text to Columns” command
- Converting to a table using the “Format as Table” command
- Sorting the data in the table by last name
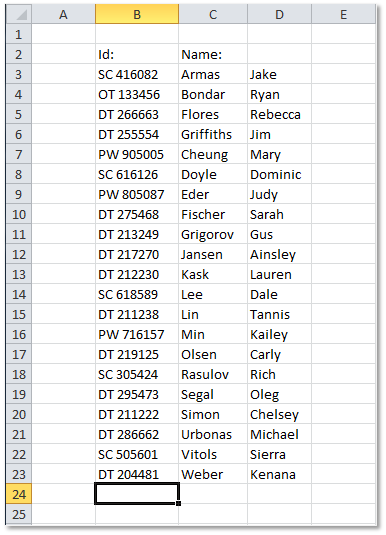
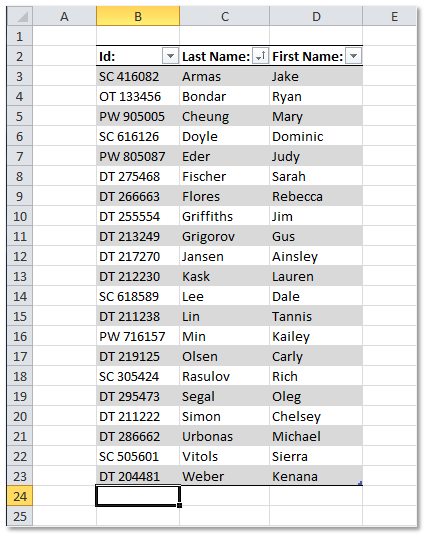
Suppose we have the following list of id’s and names:
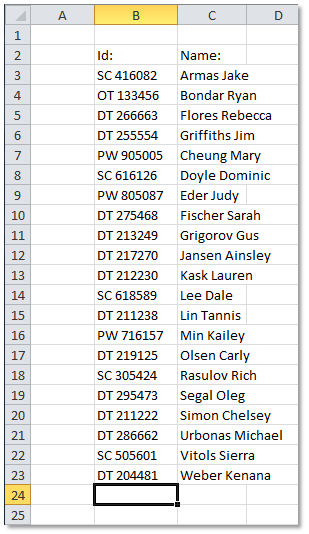
(The ids were generated randomly. The first names and last names were generated using the most popular names from various countries; first names and last names were then paired randomly.)
Task 1: Last Names and First Names in Their Own Columns.
The first task is to separate the names so that both the last name and the first name are in there own columns. This is done with the “Text to Columns” command.
First select the cells:

(Note that the column to the right should be blank since this is where the first names are going).
Then under the “Data” Tab click on “Text to Columns”:
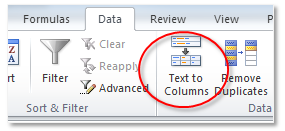
The “Convert Text to Columns Wizard” will pop-up
Here is step one of the wizard:
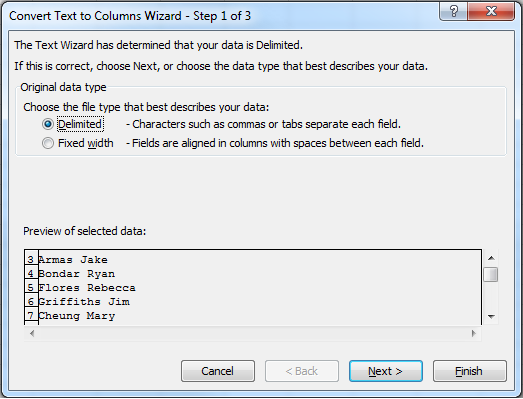
The default is “Delimited” which will work for this example, so click on Next
In the next screen select the “Space” option since the names are separated by a single space:
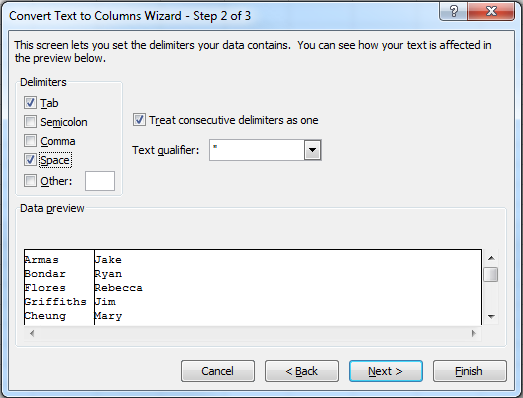
And click on Next
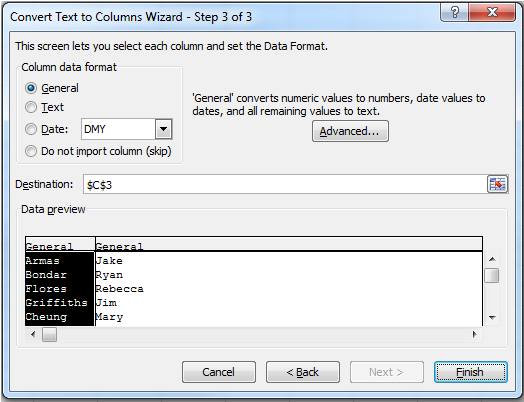
In the last screen the defaults are fine for this example so click on finish:
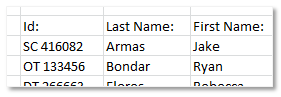
And here are the results:
Task 2: Converting to Table
The next task is to sort the data so that the last names are in alphabetical order. Although, we can use “Sort & Filer” command on the Home tab, converting the data to a table will also accomplish this with the benefit of having some formatting options.
First we are going to edit the column headers:
Next select the data (note that the column headers are also selected):
Next click on the “Format as Table” command (it is in the Styles group on the Home Tab):
Select a format style. Here we are using the first “Light” style
A “Format as Table” dialog box will appear:
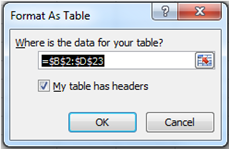
If you selected only the data and no blank rows or columns then the defaults should be ok, but make sure that the “My table has headers” box is checked.
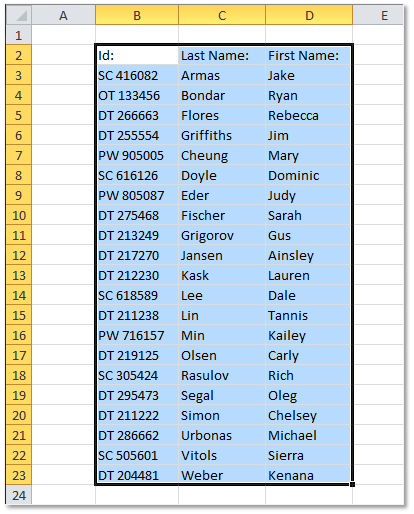
Here is the result:
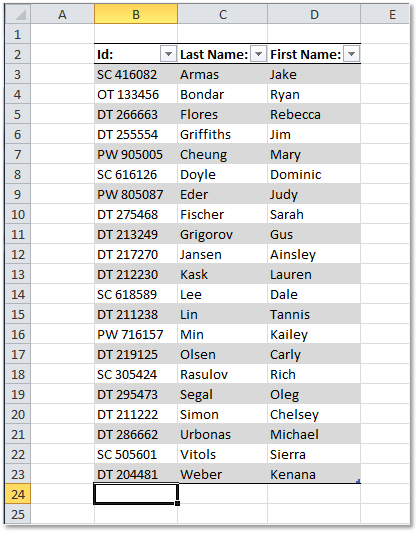
Notice that the headers now have drop down icons:
![]()
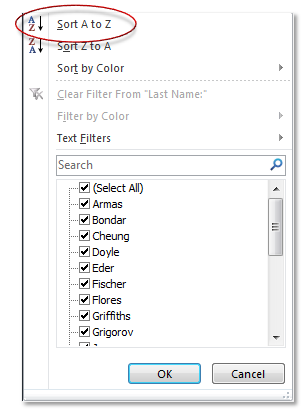
When the Drop down for Last Name is chosen a number of options are available. For this example the “Sort A to Z” is selected:
And now we have our data sorted alphabetically by last name:
Leave A Comment